Showing posts with label Healthy. Show all posts
Showing posts with label Healthy. Show all posts
Monday, August 24, 2009
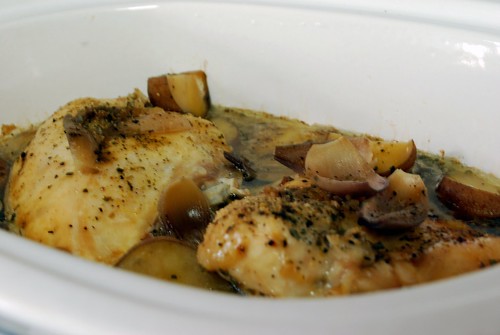
Healthy Crock Pot Chicken
Trying to stay healthy but still love the ease and convenience of a nice, hearty crock-pot dinner? Have I got the recipe for you! This is a rustic, hearty, and flavorful meal that slow cooks to perfection but does not include any of those creamy condensed soups that have a tendency to pack a lot of calories and fat. This is also an extremely versatile recipe - your chicken can be almost any cut, even a whole chicken would work. And as for the veggies? Whatever you have on hand can be thrown on in there - we used onions and potatoes this time, but carrots, celery, even green beans would be delicious.
Healthy Crock Pot Chicken
2-3 medium potatoes, quartered
2-3 small red onions, quartered
Carrots and celery would be good, too, but we didn't have any on hand
2 cups water
1 chicken bouillon cube/packet (sodium-free)
1 tablespoon poultry seasoning
1 dash Worcestershire sauce
1 teaspoon dried parsley
Salt and pepper to taste
2 bone-in chicken breasts (boneless will work, too, but bone-in = more flavor!)
Place the potato and onion wedges in the bottom of your crock pot. Cover with water. Stir in bouillon, poultry seasoning, Worcestershire, parsley, and salt and pepper. Place the chicken breasts on top. Season the meat with salt and pepper to taste. Cover and cook on low for 6-8 hours.
Remove the bones before serving (the meat will be so tender that it should fall right off). Serve the chicken and veggies over cooked brown rice or whole-grain pasta, if desired. Pour some broth over the top for extra flavor.
Labels:
Chicken,
Crock pot,
Healthy,
Make-Ahead,
Nice-n-Easy
Wednesday, August 19, 2009
Green Beans with Walnuts and Bleu Cheese
Beans with Walnuts and Bleu Cheese
3 big handfuls of green beans (or purple pole beans, like we used here!)
1/2 cup walnuts, chopped
Salt and pepper to taste
1 ounce of good bleu cheese, crumbled
Rinse the beans well and place them in a large saucepan. Cover with water, and bring to a simmer, cooking for approximately 7-8 minutes, until the beans are tender.
Meanwhile, add the walnuts to a dry skillet. Cook over medium-low heat, stirring occasionally, until the nuts just begin to brown, and are nice and fragrant. Remove from heat and set aside.
When the beans are done, drain them well and place them in a bowl. Toss them with salt and pepper to taste. Top with the toasted walnuts and the bleu cheese crumbles. Serve immediately.
Labels:
Healthy,
Vegetarian,
Veggie Sides
Wednesday, June 17, 2009
Sautéed Squash Medallions
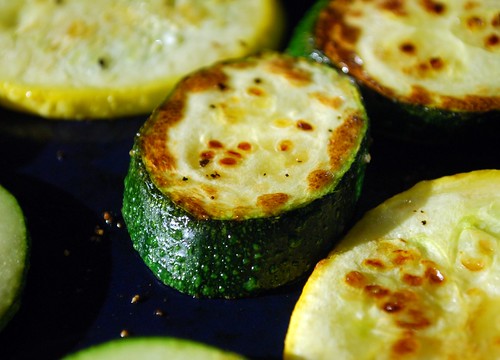
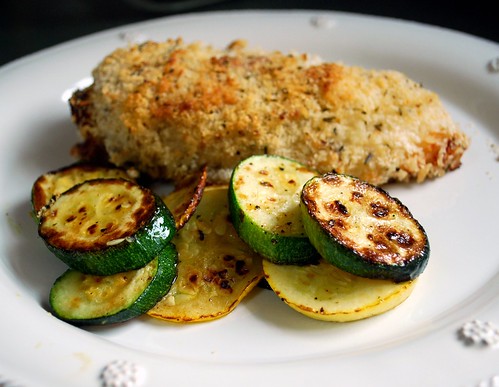
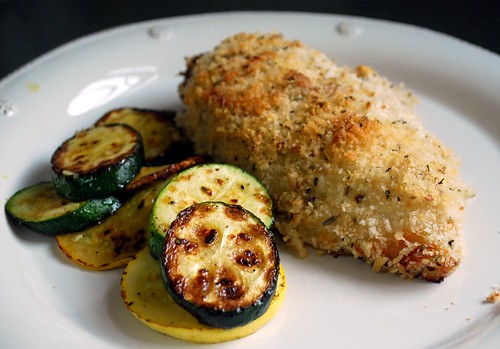
Sometimes the best way to cook fresh veggies is the simplest. Just some olive oil and salt and pepper bring out the sweet and juicy flavor of fresh summer squash. Also, caramelizing veggies as you cook them - just bringing out the slightest browned color in them - will draw out their amazing natural sweetness. These simple sautéed squash medallions go down like candy, the perfect accompanimnet for a light, summery meal.
Sautéed Squash Medallions
1 tablespoon extra virgin olive oil
2 medium yellow crook-necked squash
1 medium zucchini squash
Salt and pepper to taste
Heat the olive oil in a heavy skillet over medium to medium-high heat. Meanwhile, slice up your squash and zucchini on the diagonal so that you have pretty round slices. Season with salt and pepper to taste. Place the slices in the pan in an even layer and allow them to brown for about 3-4 minutes. Turn the slices over and allow them to cook for another 2-3 minutes. Remove from the heat and serve immediately for a fresh and tasty veggie side dish.
Labels:
Healthy,
Vegetarian,
Veggie Sides
Thursday, May 21, 2009
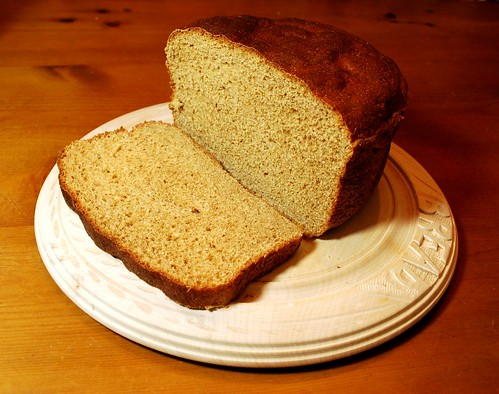
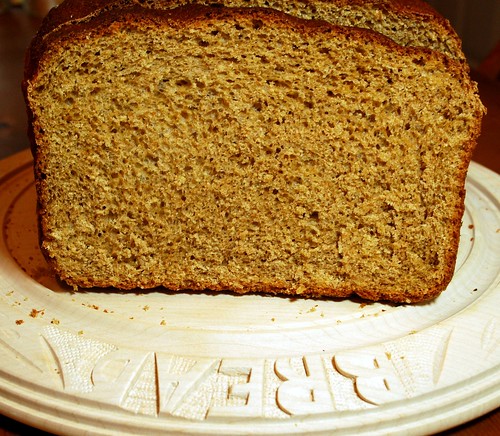
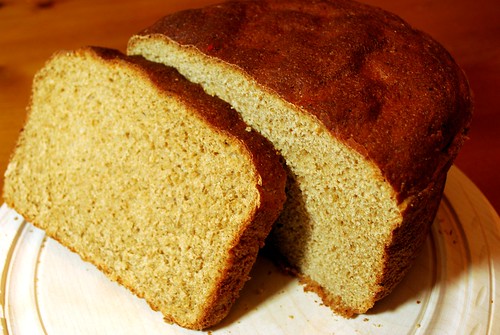
Whole Wheat Oat Bran Bread
Look for more of my bread recipes over the next several weeks as I gear up to sell some at our local farmers' market next month! There's just nothing like a fresh, home-baked loaf of bread, ya know?
This is a moist and chewy bread with lots of body. The whole grains give it a lot of flavor and texture, but they are light enough to not weigh the bread down too much. The fine texture of the grains makes it a perfect sandwich bread - or perhaps a piece of toast with butter and jam?
Whole Wheat Oat Bran Bread
Inspired by the Secrets of Jesuit Breadmaking
2 tablespoons active dry yeast
3 cups whole wheat flour
1 tablespoon salt
5 tablespoons butter
2 1/2 cups milk
1/3 cup molasses
1/3 cup honey
1 1/2 cups oat bran
2 eggs
2-3 cups bread flour
Combine the whole wheat flour, yeas, and salt in a large mixing bowl.
In a medium saucepan, heat the butter, milk, water, molasses, and honey until warm - the butter should partially melt. Pour into the whole wheat mixture and stir well. Stir in the oats and the eggs. Beat the mixture for 10 minutes, gradually adding bread flour until the bread dough begins to pull away from the sides of the mixing bowl.
Turn the dough out onto a lightly floured surface and knead for 8-10 minutes, until it feels smooth and elastic. Add flour as necessary to prevent stickiness.
Lightly oil a large bowl and place the dough in it, turning to coat. Cover and let the dough rise in a warm, draft-free place for about 1 1/2 hours, until it is doubled in bulk.
Gently punch down the dough with your fist, divide the dough into thirds, and shape into the desired forms on greased baking sheets or shape and place into greased loaf pans. Cover with a tea towel and let the dough rise a second time until doubled in bulk - it should take about 45 minutes.
Preheat your oven to 375 degrees and bake the loaves for 30-35 minutes. Transfer to a wire rack to cool.
Labels:
Bread,
Brunch,
Healthy,
Non-Veggie Sides
Wednesday, May 20, 2009
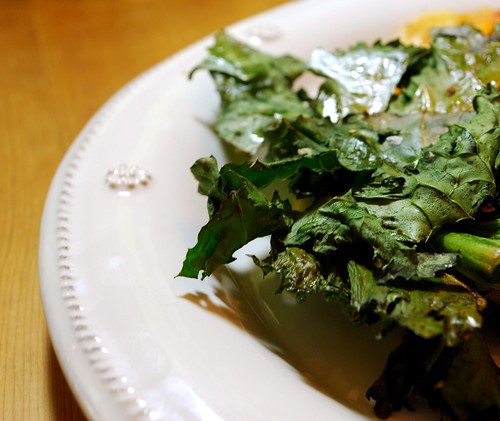
Kale Chips (?)
Well, it's a good thing I had done my recipe research because what was in our very first basket of the season but a huge bunch of kale! With my new arsenal of recipes (other than just stewing it with other greens), I went to work.
I have to be honest, when I saw this recipe for the first time, I had my doubts. Kale Chips (?) - seemed a little odd to me. But I decided to give it a try.
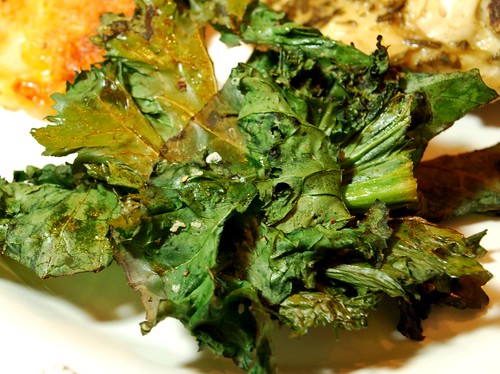
Well, the recipe did not disappoint in the least! These were delicious! What do they taste like? They were reminiscent of some really pungent salt and vinegar chips. Nice and crispy with that satisfying crunch, and it really delivers that punch of salt and the tang of sour flavor. The mildly bitter flavor of the greens really brings it all together. The hubs and I both loved these - definitely a great way to satisfy that craving for chips without breaking your diet.
Kale Chips
from Becca of Woman with a Whisk
10-12 kale leaves, washed and dried
1 teaspoon balsamic vinegar
1 teaspoon olive oil
Salt and pepper to taste
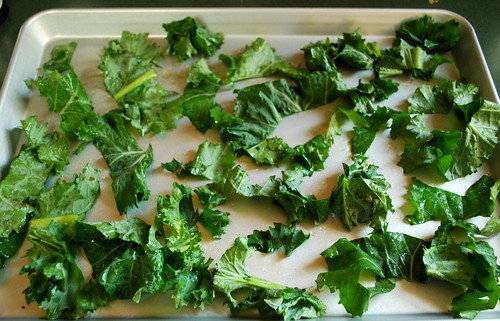
Preheat your oven to 400 degrees. Chop your kale leaves into 1-inch pieces, discarding the stems. Combine vinegar, oil, and seasonings in a medium bowl, Add the kale pieces, tossing until completely coated. Arrange the kale on a large baking sheet in a single layer.
Bake for about 10 minutes, until the kale is crispy and slightly golden.
Labels:
CSA Farm,
Healthy,
Snacks,
Veggie Sides
Tuesday, May 19, 2009
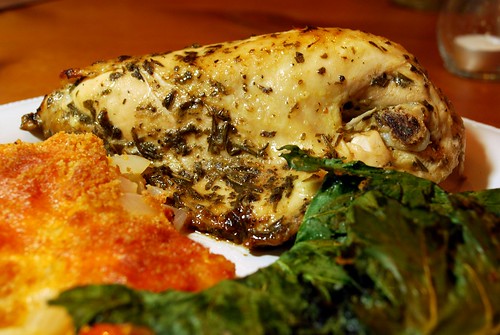
Herb Roasted Chicken Breasts
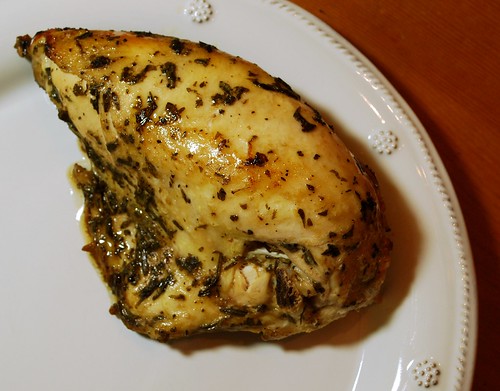
A healthy dinner for a spring weeknight with fresh herbs from the garden. The marinade makes this chicken extra tender. The blend of fresh herbs makes it irresistible!
Paul Newman's dressing has been a favorite marinade in my family for a long time - it is great on chicken, pork, and especially london broil. The blend of herbs adds an earthy fragrance, and compliments the tender, juicy chicken perfectly.
Herb Roasted Chicken Breasts
2 fresh split chicken breasts (w/ bone and skin)
1 sprig rosemary, leaves removed
3 stems of thyme, leaves removed
1 handful flat italian parsley
4-5 sage leaves
1/4 cup balsamic vinaigrette (recommended: Newman's Own)
3 tablespoons olive oil
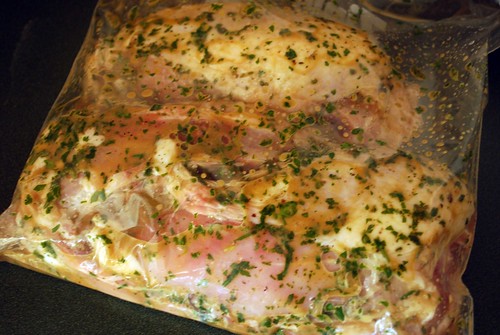
Clean the chicken breasts and place them in a large ziplock bag.
In a blender or small food processor, measure all the rest of the ingredients. Blend on high speed for about one minute, until herbs are chopped fine and liquid is emulsified. Pour the marinade into the bag with the chicken, schmooshing it around until the chicken is completely coated. (And yes, schmooshing is the technical term.) Refrigerate for at least 30 minutes or up to overnight.
Preheat the oven to 375 degrees. Place the chicken and the marinade in a greased baking dish and cover with foil. Bake for about 1 hour, until a meat thermometer inserted into the meat registers 180 degrees. Serve immediately with your favorite veggies and sides.
Labels:
Chicken,
Dinners,
Fresh Herbs,
Healthy
Monday, May 18, 2009
Grilled Fish Tacos
Here's a tasty little number I came up with: grilled fish tacos. Hubby and I love mexican food, and eating lighter is on our agenda these days with a beach vacation coming up. So here is my lightened-up version of fish tacos. Instead of fried fish, it's grilled. Instead of creamy sauce, use some guacamole. And those fiber-packed tortillas really aren't that bad! Spicy, tangy, creamy, delicious.
Grilled Fish Tacos
4-6 soft taco tortillas (the high-fiber ones are actually good)
1/2 lb. tilapia filets
1 teaspoon cajun seasoning
1 teaspoon fajita seasoning
1/4 teaspoon freshly ground black pepper
1/4 teaspoon salt (if your seasoning blends contain no salt)
Salsa
Guacamole
Fat free sour cream
Shredded cheese (recommended: cheddar jack)
Cilantro
Heat your outdoor grill, george foreman, or stovetop grill pan to medium-high heat. Spray with cooking spray or olive oil.
Meanwhile, cut your tilapia filets into 2" by 1" chunks. In a small bowl, combine the cajun seasoning, fajita seasoning, pepper, and salt. Sprinkle half of the seasoning mixiture over the fish chunks.
When the grill is heated, use tongs to place the fish on the heat, seasoned-side-down. Apply the other half of the seasoning to the tops of the fish. Grill for 4-5 minutes on each side. You will know that the fish is ready to turn over when the fish releasesz easily from the grill, and you see nice golden brown grill marks on it.
Serve the fish with the tortillas and your favorite toppings. Makes about 2 servings.
Labels:
Dinners,
Fresh Herbs,
Healthy,
Mexican,
Seafood
Saturday, May 16, 2009
Our Community Supported Agriculture "CSA" Farm
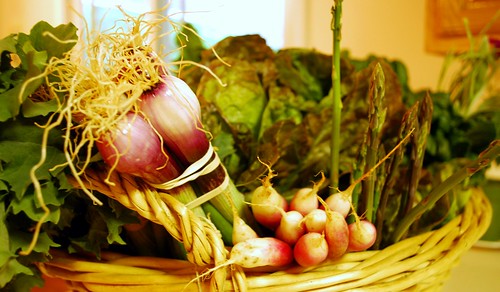
This is an exciting week in the Vintage Victuals kitchen - it's the first week that we got a basket of produce from our Community Supported Agriculture ("CSA") farm.
Maybe you've heard about the CSA movement, maybe you haven't. Either way, here's the skinny. A CSA farm operates a lot like a corporation. In the fall, you pay upfront to buy a "share." The farm uses the money to buy seeds and equipment for the following growing season, and then shareholders reap the dividends throughout the summer as the farm harvests each phase of produce. At our farm, a share gets you one huge basket of produce that you can pick up once a week. Starting around Mother's Day every year, we start picking up weekly baskets from our farm, packed with fresh veggies, greens, herbs, and fruits.
CSAs are considered part of the "green" movement for many reasons. First, many CSA farms are use organic farming methods. What's more, buying locally-grown produce helps the environment because it reduces the amount of pollution that results from shipping food over long distances. Finally, CSAs provide fresher, less-processed food resulting in better nutrition for our bodies.
Beyond the green, there are lots more reasons to belong to a CSA farm. We love being able to support the farmers in our community. We also enjoy the crazy varieties of vegetables that we get from the farm - lots of obscure veggies and heirloom varieties. They are loads of fun to cook with, and the produce from the farm tastes so much fresher and more flavorful than anything you can find in a grocery store.
Our farm co-op is family operated. Hubby's mom and dad have belonged for years, but this is only our second or third year taking part in the goodness.
So read on to find out more about our baskets and our farm! And get excited because the next several months are going to be full of recipes with great produce!
~ First Basket of the Season ~
Every week, we bring an empty basket to the farm,
and we trade it for a full one, like this.

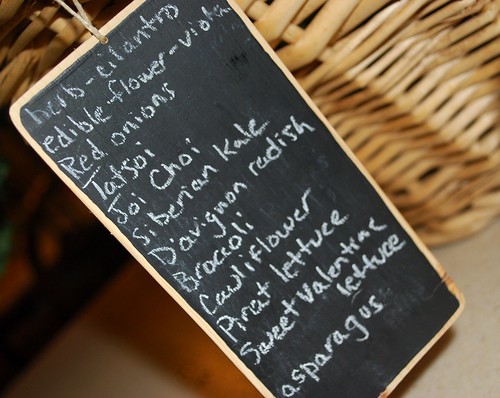
They always attach a tiny chalk board
listing the contents of the basket for the week.
We also get a dozen farm fresh eggs with the basket.

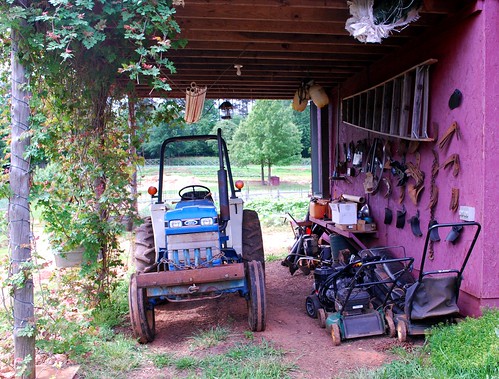
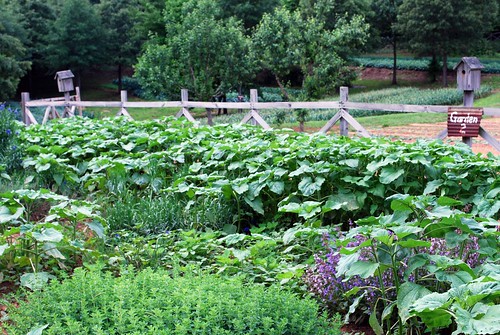
~ Out in the Gardens ~


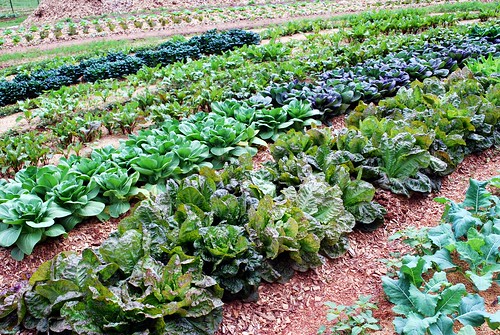
Pole Beans

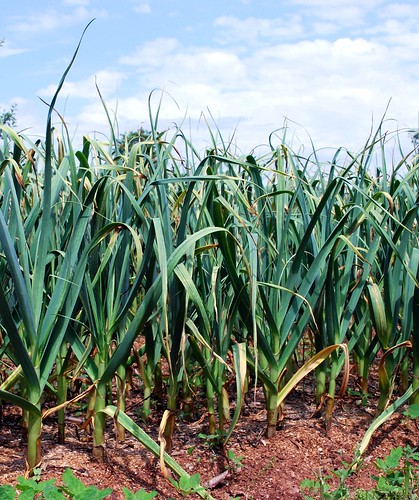
Garlic
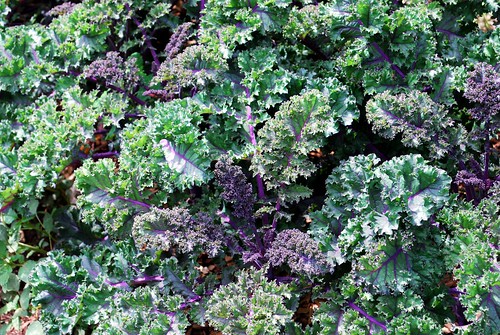
Kale
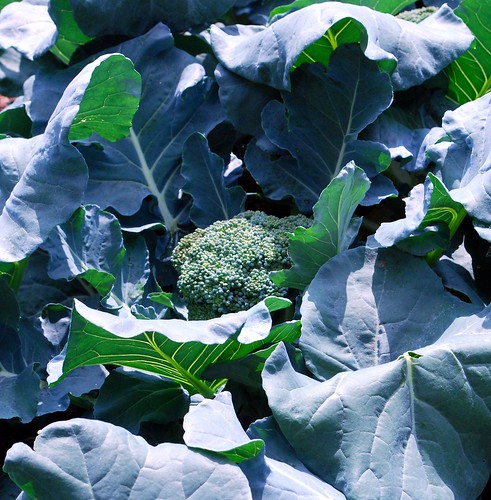
Broccoli

Cauliflower

Okra


Bunches and bunches of beautiful greens!
~ In the Shade of the Fruit Trees ~
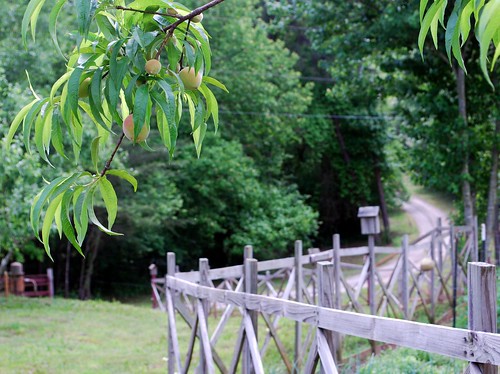
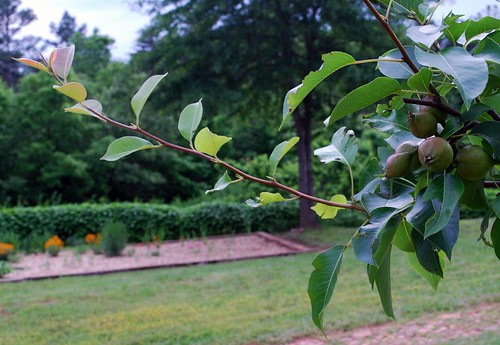
Not just veggies - we get some fruit through the summer, too!
Peaches
Pears
Raspberries


Pole Beans

Garlic


Kale

Broccoli


Cauliflower

Okra


Bunches and bunches of beautiful greens!

~ In the Shade of the Fruit Trees ~
Not just veggies - we get some fruit through the summer, too!
Peaches

Pears

Raspberries

~ The Chicken Coop ~
The basket also comes with farm fresh eggs.
We save our egg cartons throughout the rest of the year
and bring them to the farm to be re-used.


No basket is complete without a small bouquet of fresh-picked flowers.
They have beds and beds packed with gorgeous blooms.
Bachelor Button

Pink Iris


Johnny Jump-Ups

The basket also comes with farm fresh eggs.
We save our egg cartons throughout the rest of the year
and bring them to the farm to be re-used.


And what's a farm without a faithful hound to guard the chicken coop? Here is Copper, the beagle, who has a little house next to the coop. And, yes, he is named after the dog in the movie The Fox and the Hound.
~ Back Toward the Flower Beds ~No basket is complete without a small bouquet of fresh-picked flowers.
They have beds and beds packed with gorgeous blooms.
Bachelor Button

Pink Iris


Johnny Jump-Ups

For more info on CSA farms or to find a farm co-op in your area, this website is a great resource.
Labels:
CSA Farm,
Healthy,
Spreading the Love
Tuesday, April 14, 2009
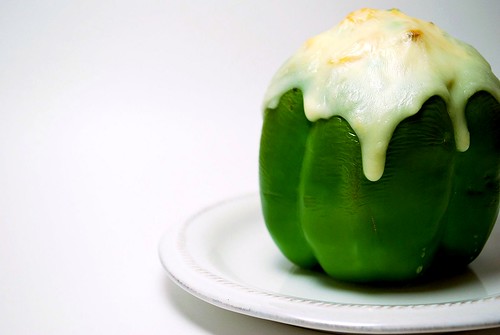
American Style Chicken-n-Rice Stuffed Peppers
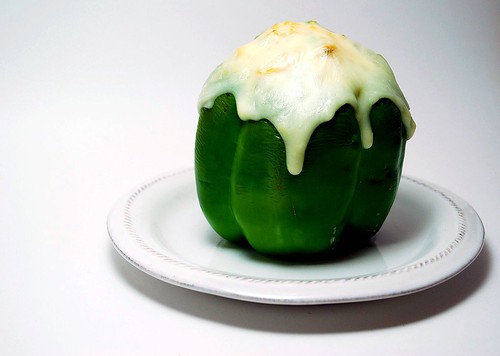
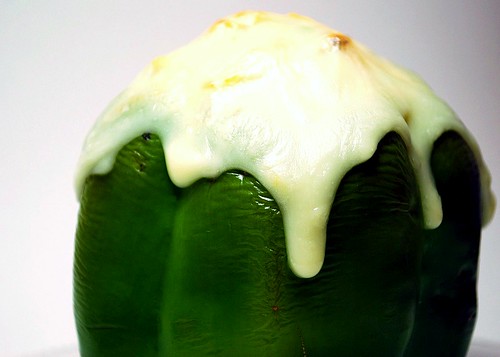
Here's a little number I made up on the go for a delicious and healthy weeknight supper. So you've seen Italian stuffed peppers, well what would an "American" version look like? Something like this. A creamy filling of chicken and rice crowned with a gooey dollop of white American cheese. It's definitely a different combination of flavors, but they come together beautifully.
Chicken-n-Rice Stuffed Peppers
from my very own little hungry brain
4 green bell peppers
2 cups brown rice, cooked in water or chicken broth
2 chicken breast, baked or boiled and shredded
1/4 cup onion, minced
1/2 cup peas, frozen/canned/fresh/whatever
1/2 teaspoon garlic
1/4 teaspoon freshly ground black pepper
1/4 teaspoon sage
2 dashes of Worcestershire sauce
1 can light condensed cream of chicken soup
1/4 cup milk
4 slices white American cheese
Preheat your oven to 375 degrees and grease a large baking dish or baking sheet. Clean and core your peppers, being sure to get out the vein in the center and all the seeds. Make sure your rice is properly cooked, and shred your chicken breasts.
het a medium skillet over medium heat and spray with cooking spray. Toss in your onion and cook for about 2 minutes, until onions become fragrant and begin to turn translucent. Add chicken, rice, peas, garlic, pepper, sage, Worcestershire, condensed soup, and milk, stirring to combine. Cook for about 3 more minutes, just to combine and heat through.
Spoon the chicken mixture into the prepared peppers, heaping the filling on top if necessary. Bake for about 20 minutes. Remove from the oven, and top each pepper with a slice of American cheese. Turn your oven up to broil, and return the peppers to the oven for 2-3 minutes, until cheese melts and begins to brown. Serve immediately.
Subscribe to:
Posts (Atom)


