


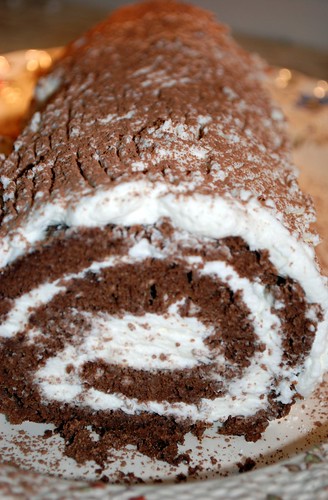
But we also have a dessert called Money Cake.
It has sort of developed from the tradition of the King Cake - which is made in France to celebrate the Epiphany, which falls on Jan. 6 every year, and marks the day when the Wise Men arrived to visit baby Jesus. With the King Cake, a trinket (usually a figurine of the baby Jesus) is baked in a cake, and whoever gets the trinket in their piece is King for the day.
Well, there's also an English tradition of baking a bean and a pea in a pie, and the man and woman who get these are the king and queen for the day.
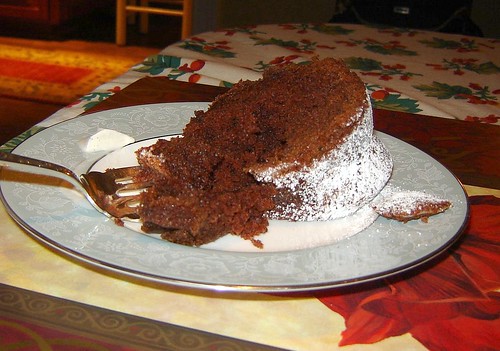
Somehow in my mom's English-Canadian family this has morphed into our Money Cake. We sanitize 2 quarters, 4 dimes, 6 nickels, and 8 pennies and wrap each one in wax paper. Then we drop the coins randomly into the cake batter before the cake goes in the oven. The coins bake inside the cake, and pretty much each person's piece of cake ends up having a coin inside. The two quarters are for the king and queen, if you get a dime you are a prince or princess, if you get a nickel, you are a duke or duchess, and if you get a penny? You are a lowly peasant!
The best way to sanitize the coins is to wash them in soapy water and then boil them in a shallow pot of water.

1 cup water
1/2 cup vegetable oil
5 tablespoons cocoa powder2 cups flour
2 cups sugar1/2 teaspoon salt
1/2 cup buttermilk1 teaspoon baking soda
2 eggs, lightly beaten1 1/2 teaspoons cinnamon
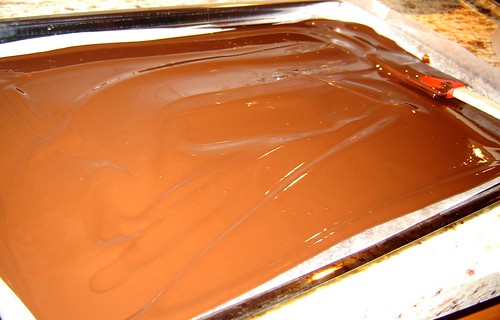
1 teaspoon pure vanilla extractPreheat the oven to 375 degrees. Grease a large bundt pan with cooking spray. Put butter, water, oil, and cocoa in a medium saucepan. Bring to a boil.
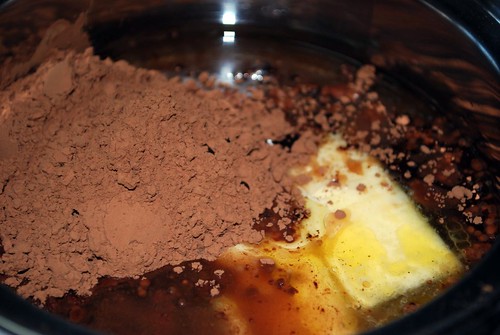


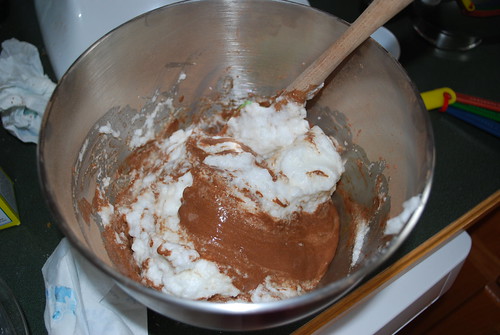
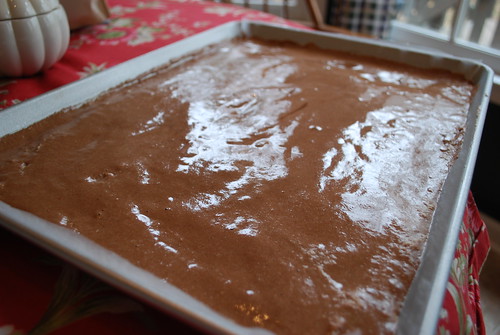
Meanwhile, whisk together flour, sugar, and salt in a mixing bowl. Pour the chocolate mixture into the bowl with the dry ingredients and mix well. Then, add the buttermilk and baking soda. Mix together the eggs, cinnamon, and vanilla in a small bowl, and add to the batter. Pour batter into prepared pan.
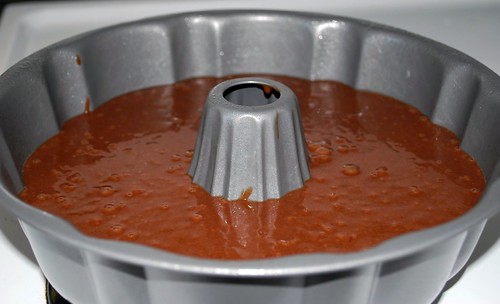
Drop wrapped coins into the batter.
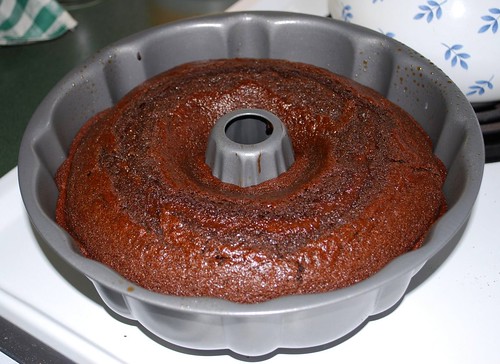
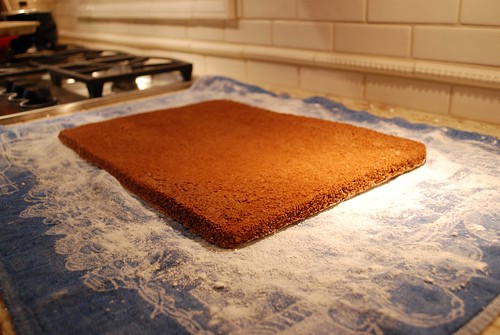
 Bake 25 minutes. Allow cake to cool completely in the pan.
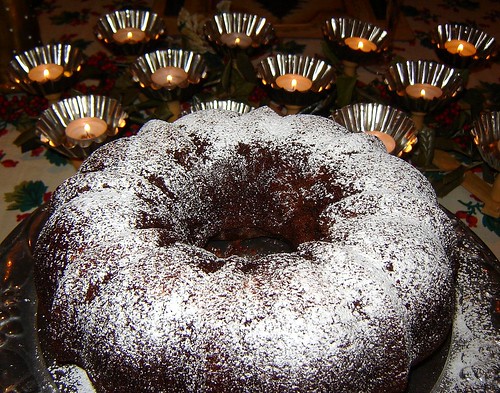
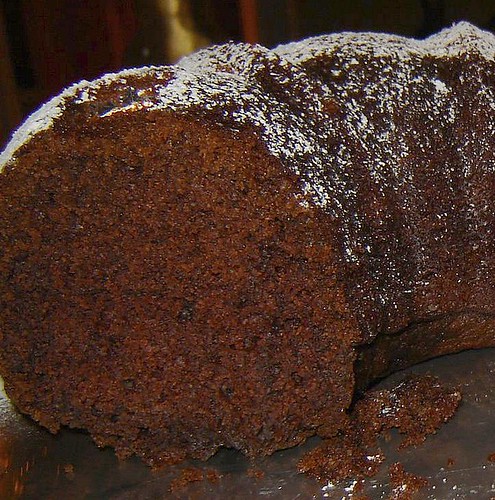
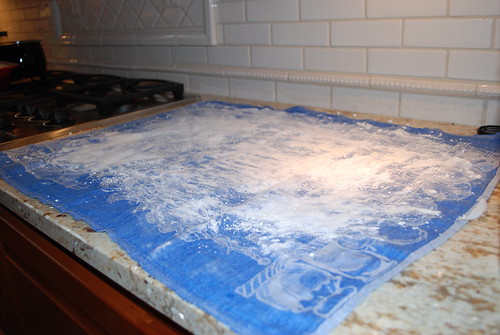
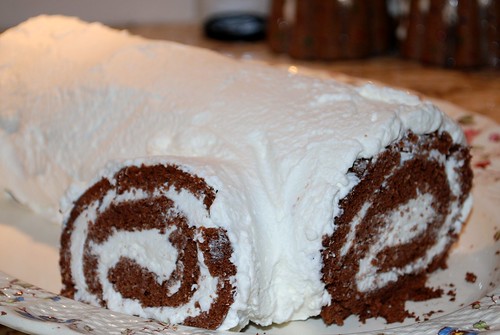
Then, turn onto a plate, and sprinkle with powdered sugar.
Disclaimer: Do be sure to tell your guests about the surprise in each piece so that they don't break a tooth!
Meanwhile, whisk together flour, sugar, and salt in a mixing bowl. Pour the chocolate mixture into the bowl with the dry ingredients and mix well. Then, add the buttermilk and baking soda. Mix together the eggs, cinnamon, and vanilla in a small bowl, and add to the batter. Pour batter into prepared pan.
Drop wrapped coins into the batter.
 Bake 25 minutes. Allow cake to cool completely in the pan.
Then, turn onto a plate, and sprinkle with powdered sugar.
Disclaimer: Do be sure to tell your guests about the surprise in each piece so that they don't break a tooth!


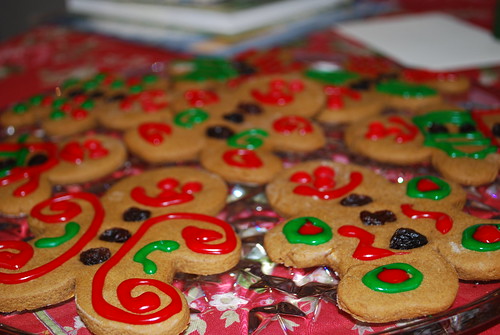
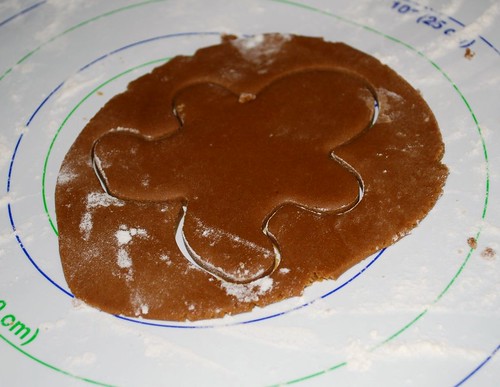
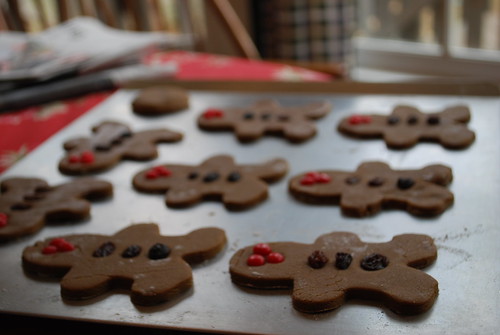
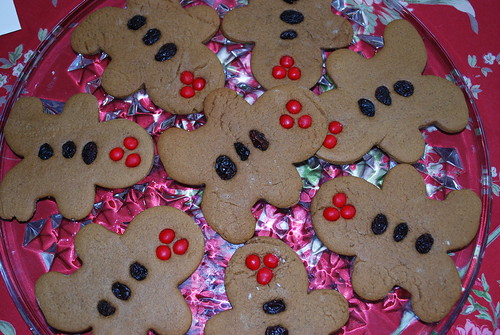
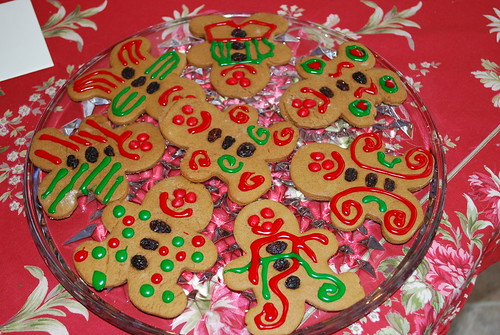


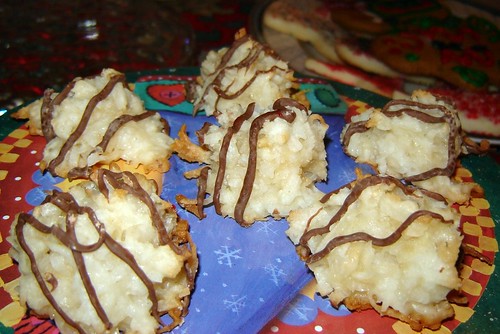
 On a related side-note, I have to confess that I'm a little bit nuts about cut-out cookies, not just at Christmas Time but all year round! I have a set of 101 cookie cutters that I love to use, and I have lots of other cutters that I've acquired over the years, too. I make these cookies almost every ;time we have a get-together. Here are a few of the shapes I've made in the past with this recipe
 Preheat oven to 375 degrees F.


 Bake at 325 degrees for 20 minutes, or until edges of cookies begin to turn golden brown. Immediately remove from cookie sheets to wire racks. Cool completely.


