Wednesday, December 17, 2008

Nanny's Yorkshire Pudding


My maternal grandmother ("Nanny") has definitely been my greatest source of inspiration, encouragement, and education in the kitchen! She is English/Canadian, so a lot of her recipes have come from that traditional heritage. One of the meals my mom remembers from growing up was the traditional Sunday Roast with potatoes, veggies, and Yorkshire Puddings.

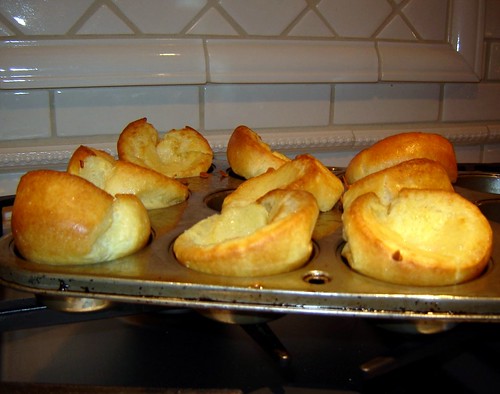
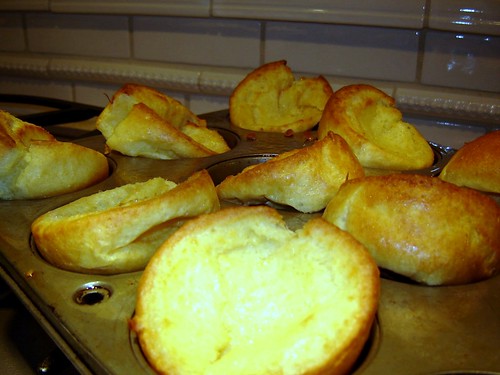
So last night, my mom and I made one of our favorite Nanny recipes to go with our pot roast - Yorkshire Pudding. In some circles, these tasty treats are known as "popovers" because of the way they puff up and pop out of the pan when they bake.

The only trick with this very simple recipe is getting the popovers to pop - otherwise, you will end up with some seriously dense pancakey dinner rolls! Here are some useful tips that I've found over the years for getting your popovers to really pop:
  • Make sure that all of your ingredients are at room temperature before you mix your batter. This is the #1 best tip for fluffy popovers!
  • Don't use too much hot grease in the preheated pan - just a tiny bit will work.
  • Don't over-mix the batter.
  • Don't open the oven while the yorkshires are baking.
  • Serve popovers immediately so that they do not un-pop as they cool and fall.
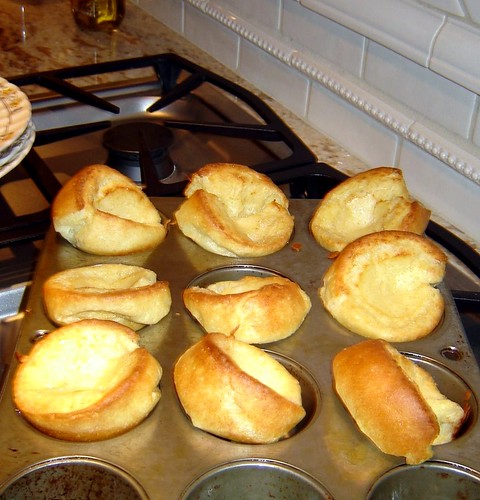
If you follow these easy tips, then this ends up being a very simple treat to make!


Nanny's Yorkshire Pudding


1 cup flour
1/2 teaspoon salt
2 eggs, at room temperature
1 cup milk, at room temperature
Cooking spray
Crisco

Preheat oven to 415 degrees. Spray a regular 12-count muffin-tin with cooking spray and set aside. Sift into a small bowl flour and salt. Set aside

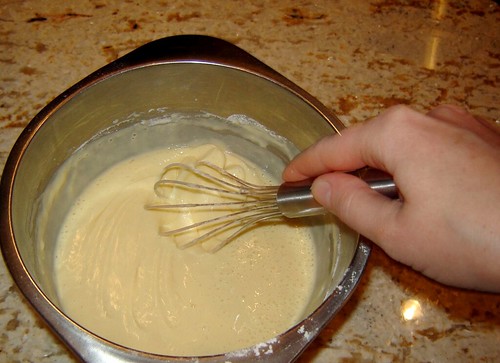
In a medium bowl, whisk eggs for about 30 seconds. Add milk, and whisk again for 30 seconds. Slowly add the flour mixture to the egg mixture, whisking constantly to prevent lumps from forming. The batter should resemble the consistency of smooth pancake batter.


Drop about 1/4 teaspoon of Crisco into the bottom of each greased muffin cup.
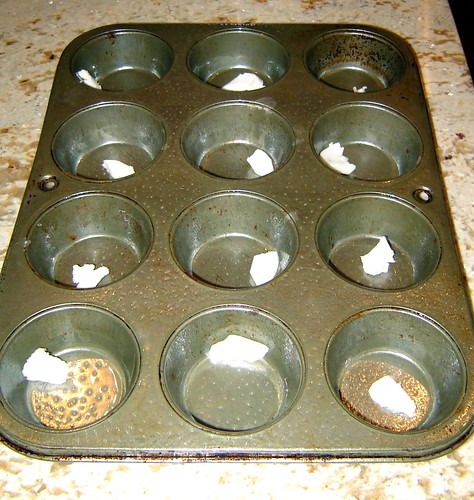


Place muffin tin in the pre-heated oven for about 2 minutes, until crisco is melted and slightly smoking. Remove from the oven and spoon batter into hot muffin cups about 2/3 of the way full.
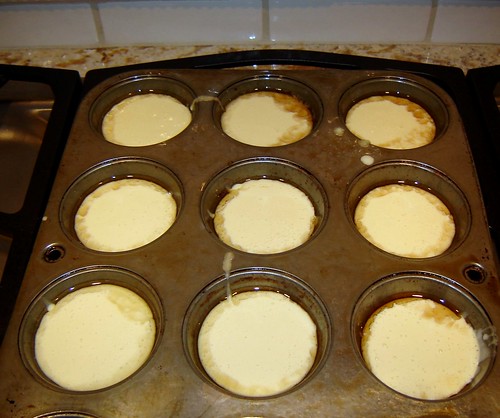


It's okay if the recipe doesn't fill all 12 cups - we usually get 9-12 out of this recipe.

Transfer back into the oven, and bake for 20-25 minutes, until edges are crispy, tops are golden, and puddings have "popped."

Here is the view from outside my oven about 15 minutes in, when the yorkshires popped!
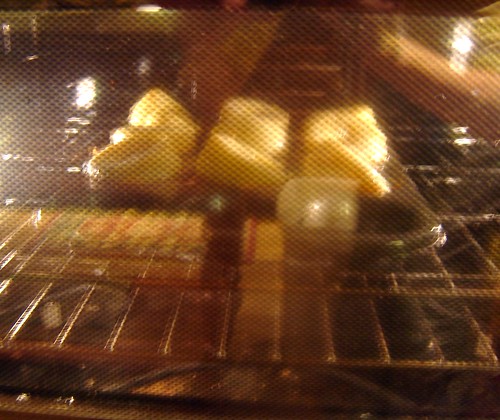


Serve with pot roast, roast beef, stew, or anything that has a nice gravy.

You can also make these with fillings that go in the tiny bowl that the puddings make. When filled with cooked sausage, these are called a "toad in the hole."

These are also delicious with butter and raspberry jam, syrup. or sugar - for dessert or breakfast or tea time!

Monday, December 15, 2008

Buffalo Chicken Dip

This recipe is inspired by my wonderful Atlanta Knottie friends - it's sort of a blend of the recipes that you all sent me! I took it to hubby's family Christmas celebration on Sunday, and it was a HUGE hit - people just couldn't stop talking about it and asking me for the recipe! It always feels good when you find a recipe that gets that sort of attention. So here it is!

Buffalo Chicken Dip

2 8-ounce packages of cream cheese, softened
1 packet of dry ranch dressing seasoning (I used Hidden Valley Ranch)
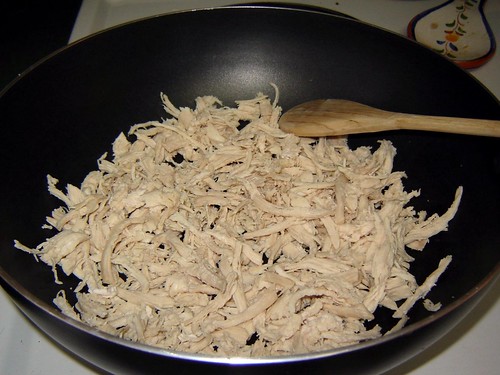
2 skinless boneless chicken breasts, boiled and shredded
1/3 cup Frank's Buffalo Sauce
1/2 cup shredded Monterrey Jack Cheese
Frito Scoops, for dipping
Celery, for dipping
Carrots, for dipping

Grease a 9" round pie dish or baking dish, and preheat oven to 375 degrees.

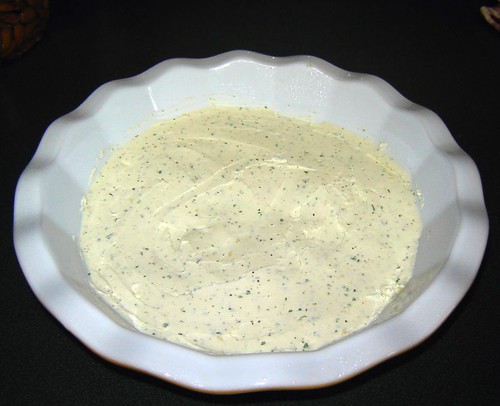
In a medium bowl, mix together cream cheese and ranch seasoning. Spread mixture in the bottom of the prepared dish.


In a large skillet, heat shredded chicken over medium heat until warm.


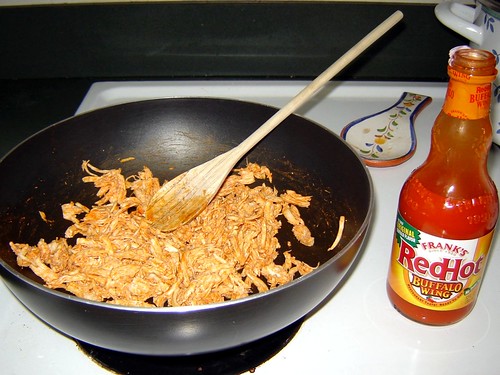
Add buffalo sauce, and cook for about 5 minutes, stirring and allowing the sauce to permeate the chicken.


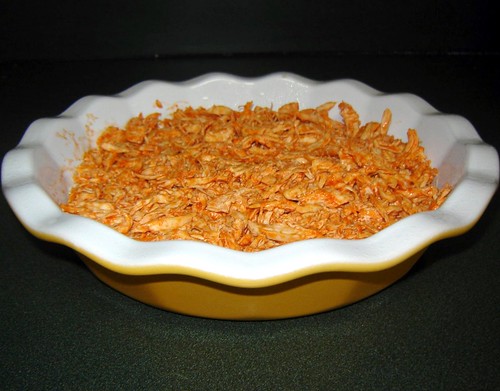
Top the cream cheese layer with this chicken mixture. Sprinkle Monterrey Jack cheese on top. Bake for about 15 minutes or until mixture is bubbly and cheese is melted. Serve with Fritos and sliced veggies for dipping.


Friday, December 12, 2008

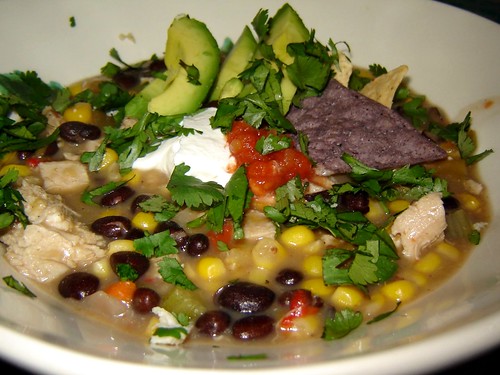
Chicken Tortilla Soup


I was inspired to make chicken tortilla soup one cold and rainy night this week. I had most of the ingredients on hand to make the base for a soup, and just added some of hubby's and my favorite "Mexican" ingredients. It turned out wonderfully.


Chicken Tortilla Soup

2 tablespoons unsalted butter
1/4 cup diced cellery
1/4 cup diced carrot
1/4 cup diced sweet onion
2 tablespoons all-purpose flour
2 cups low-sodium chicken broth
1 (10-ounce) can Mexicorn (corn and bell peppers), drained and rinsed
1 (14-ounce) can black beans, drained and rinsed
1 (-ounce) can green chiles, drained
1 tablespoon minced garlic (or 1 teaspoon garlic powder)
2 chicken breasts, cooked and shredded or sliced
2 teaspoons fajita seasoning blend
2 tablespoons ground cumin
Salt and pepper to taste
Garnishes, see below

In a large pot, melt butter over medium heat. Add celery, carrot, and onion. Season with salt and pepper. Cook over medium heat until veggies begin to soften, about 5 minutes. Sprinkle flour over the vegetables, and stir. Flour will form a paste; allow paste to cook for at least 2 minutes. Gradually add chicken broth, whisking. Heat the mixture until it begins to simmer and thicken, approximately 7-8 minutes.
Note: At this point, you have the base for pretty much any chicken soup you want to make!

Add mexicorn, beans, green chiles, and garlic. Mix and return to a simmer. Add cooked chicken and spices, seasoning the soup to taste. Simmer over low heat, covered, for 20-30 minutes.

After flavors have had time to meld, the soup is ready to eat! Serve with your favorite garnishes and enjoy!

Garnish Ideas:
Shredded cheese
Jalapenos
Chopped fresh cilantro
Fat free sour cream
Salsa
Sliced avacado
Corn tortilla chips
Your favorite cornbread


Thursday, December 11, 2008

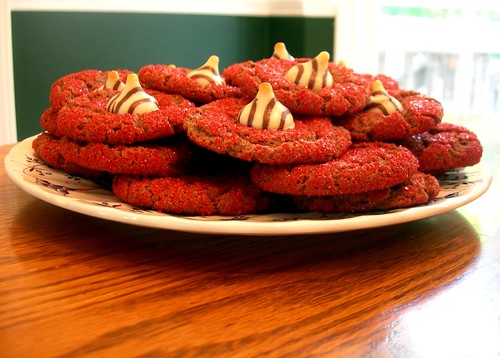
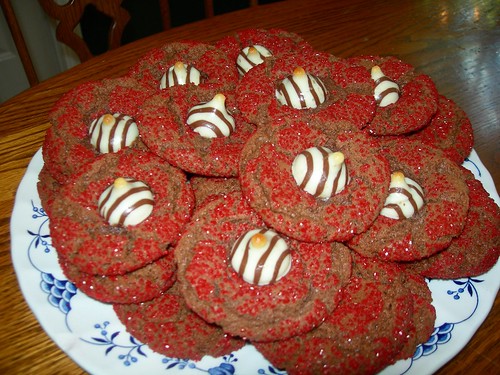
Dawg Balls


Okay, so there's a story behind the name of these cookies. I got this wonderfully delicious cookie recipe from the lovely, talented, and resourceful friend Hayley because I was looking for a festive cookie to take to a tailgating party before a Georgia Bulldogs football game. (Go Dawgs!) My hubby saw me making these the morning of the party, and when he saw me rolling the chocolate balls of dough in red sprinkles, he said, "What are you making?!? Dawg balls?!?" And I said, "Yes!"

And that is how this cookie's name came to be.


These have been such a hit everywhere I've taken them, and they are great for making with kids, too! They love to roll the dough in the sprinkles. They can be made with or without the chocolate kisses - both ways are wonderful. And you can change the color of sprinkles to match your team, or to match whatever holiday you are celebrating. The outer edges of the cookie are crispy while the middle stays nice and chewy - and the subtle Nutella flavor is totally addictive!

Dawg Balls
(aka Hayley's Chocolate Hazelnut Smooches)

1 3/4 cup all-purpose flour
1 teaspoon baking soda
1/2 teaspoon salt
1/2 cup chocolate hazelnut spread (recommended: Nutella)
1/2 cup butter, softened
1/2 cup sugar
1/2 cup light brown sugar
1 egg
1 teaspoon vanilla extract
1/2 cup orange sprinkles, or orange sugar
1 (9-ounce) package of chocolate candy kisses, unwrapped
  1. Preheat the oven to 375 degrees F.
  2. In a medium bowl, combine flour, baking soda, and salt. Set aside.
  3. In another medium bowl, place the chocolate hazelnut spread, butter, and both sugars. Using a hand mixer, cream the ingredients together, about 3 minutes.
  4. Add the egg and vanilla and blend until incorporated. Stir in the dry ingredients, just until incorporated.
  5. Shape the cookie dough into walnut-sized balls. Rolls the balls in the red sprinkles or red sugar, pressing to adhere.
  6. Place the cookies on a heavy cookie sheet about 3 inches apart. Bake for 8 minutes. Remove the cookies from the oven.
  7. Quickly place a chocolate kiss in the middle of each cookie. Return the cookies to the oven and bake for another 3 minutes. Cool the cookies on a wire rack.

Makes 36-40 cookies.

Tuesday, December 9, 2008

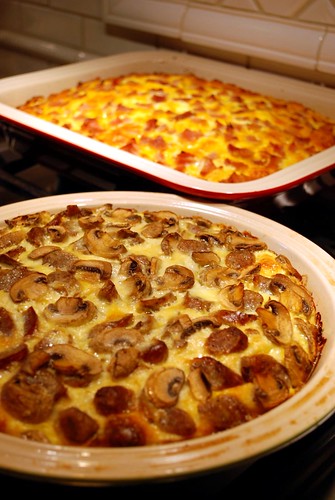
Easy Make-Ahead Brunch Strata

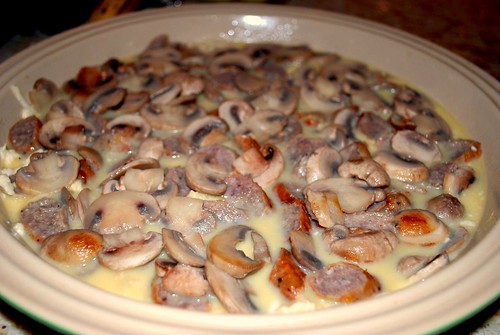
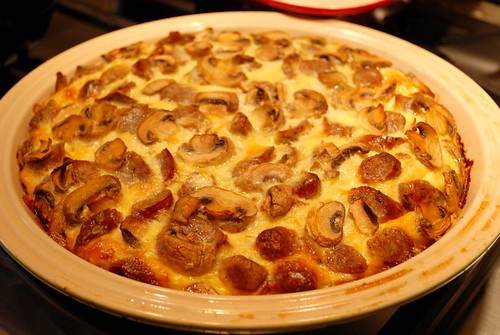
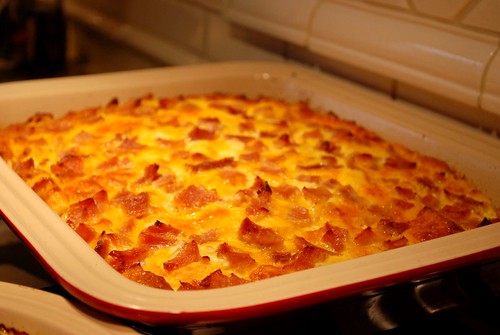
This is a Christmas morning tradition in our household: I make the monkey bread, and mom makes the breakfast casserole. Both can be made the day before, and then popped into the oven while the family is opening presents. Mom's strata is sooooo delicious, and not too greasy or heavy like the recipes I've seen that use crescent rolls. It puffs up and browns beautifully, and it heats up well the next day if you have leftovers!

The other great thing about this recipes is that you can customize the combination of ingredients to any taste - we've even made it vegetarian a few times. We like ham with tomatoes and swiss cheese. We like sausage with cheddar and mushrooms. We like bacon with anything!

You could make it "Mexican" by adding a can of green chilies, drained, using some chorizo sausage and using a Mexican cheese blend and salsa. You could make it "Italian" with some Italian seasoning, an Italian cheese blend, and chopped up Roma tomatoes. You can make it "Southern" by making it with sausage or country ham and serving it with biscuits and gravy. It's very versatile and, most importantly, extremely easy and delicious!

I hope you enjoy this brunch treat!


Mom's Egg and Cheese Brunch Strata

1 lb. sausage (or 4 cups ham, or 8-10 slices bacon, cooked and crumbled)
1 1/2 (8 ounces) cups cheese, grated ( whatever type of cheese you like: cheddar, swiss, etc.)
10 eggs
4 cups bread, cubed in 1/2 inch pieces
4 cups milk
1 teaspoon salt (opt.)
1/2 teaspoon pepper
1 1/2 teaspoons dry mustard
1/2 cup sliced fresh mushrooms and/or chopped tomato

Grease a 9" x 13" pan. Arrange bread cubes in pan and sprinkle with cheese. In a large bowl, beat eggs, milk, salt, pepper and mustard with a whisk. Pour egg mixture evenly over bread and cheese layer. Sprinkle with meat and vegetables. Cover and refrigerate overnight.


Preheat oven to 325 degrees and bake strata uncovered until eggs set in the center, about 1 hour. Cover loosely with foil (sprayed with Pam) if top browns too quickly.


Made by Lena