Friday, December 26, 2008

Monkeyin' Around


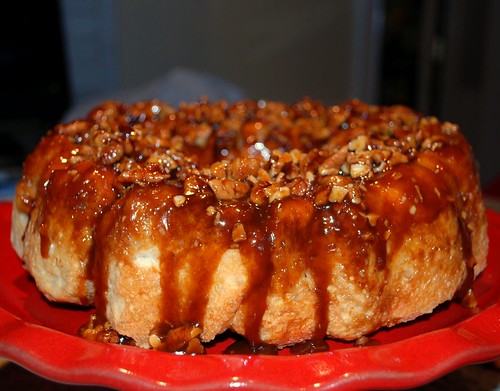
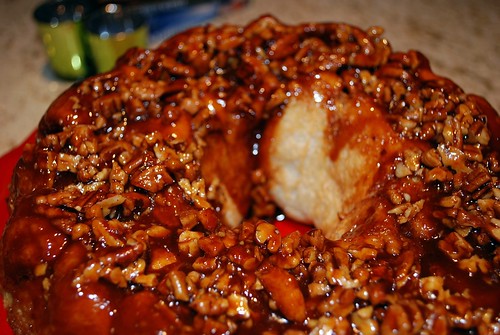
One of our favorite Christmas traditions is to make Monkey Bread - it's perfect because you can fix it the night before, leave it out to rise overnight, and then pop it in the oven on Christmas morning. Here's my Aunt Cathie's recipe that we love.


Ingredient Note: This recipe calls for frozen bread dough. You should be able to find this in the freezer section at your local grocery store - most often I find it in the form of dough to make dinner rolls. Just be sure you get the actual dough, not "warm and serve" rolls. If you prefer, you can always substitute hunks of home-made bread dough.

Aunt Cathie's Monkey Bread

3/4 cup chopped pecans
18-19 pieces of frozen bread dough
1 3-ounce package "cook 'n' serve" butterscotch pudding (not instant)
6 tablespoons butter, melted
1/2 cup brown sugar
1 teaspoon cinnamon


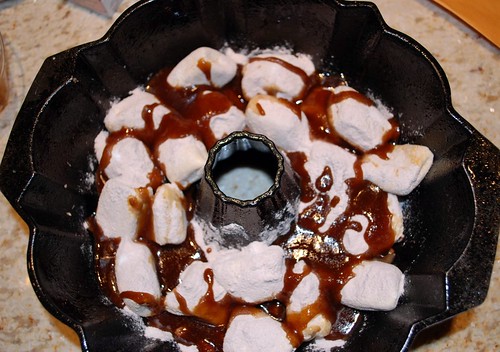
The night before, spray a tube-pan or bundt pan with cooking spray. Then, sprinkle the bottom of the pan with pecans, spreading evenly. Arrange dough pieces evenly on top of the pecans. Sprinkle with butterscotch pudding mix. In a small bowl, combine melted butter, brown sugar, and cinnamon. Drizzle this mixture over the bread. Leave out to rise overnight, uncovered.


The next morning, dough should be double in size, like this:


Preheat the oven to 350 degrees. Bake for 30 minutes.


Let stand for 10 minutes before turning out onto a plate and serving.

Wednesday, December 24, 2008

Bloggin' and Yule Loggin' on Christmas Eve


Merry Christmas Eve, dear readers! I am happily spending my day doing some last minute baking and wrapping.

Here is the recipe for my Auntie Gladys's Chocolate Yule Log. She is Nanny's sister, and whenever she would come to visit us in Georgia, we would have so much fun baking together. Here is an old shot of Nanny, me, and Auntie Gladys in my parents' kitchen.


This is a beautiful, delicious, delicate dessert that is just perfect to serve around the holidays. It is light and airy, but satisfying with its soft sweetness. It's also much simpler to make than it sounds like, so don't be intimidated! Your family and guests will be truly impressed.

Auntie Gladys's Chocolate Yule Log

Cake:
5 egg whites
5 egg yolks
1 cup confectioner's sugar, sifted
1/4 cup flour, sifted
1/2 teaspoon salt
4 tablespoons cocoa powder, sifted
1 teaspoon vanilla

Filling:
2 cups heavy whipping cream
2 tablespoons confectioner's sugar (optional)
Cocoa powder

Grease a jelly roll pan. Line with wax paper and grease again. Preheat oven to 275 degrees.

In a medium mixing bowl, beat egg whites until stiff. Set aside

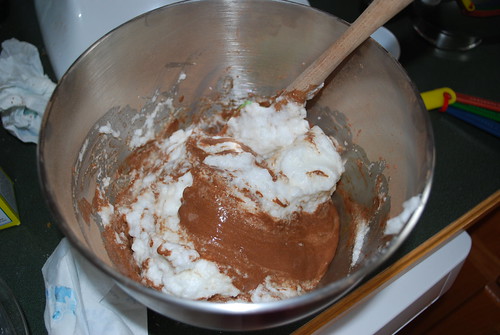
In a large mixing bowl, beat egg yolks until they turn a creamy lemon color, about 5 minutes. Sift in icing sugar, flour, salt, and cocoa powder. Add vanilla and stir until all ingredients are incorporated. Gently fold in egg whites, being sure not to deflate the mixture.
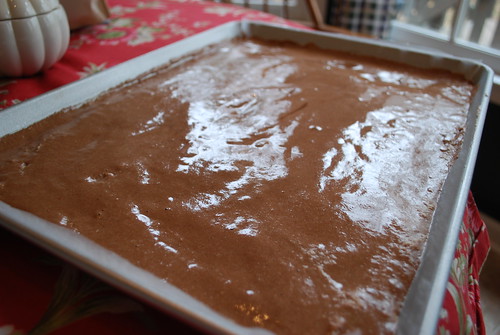
Spread the batter in the prepared jelly roll pan, smoothing into as even a layer as possible.
Bake for 15-20 minutes, or until cake springs back when gently touched with your finger.

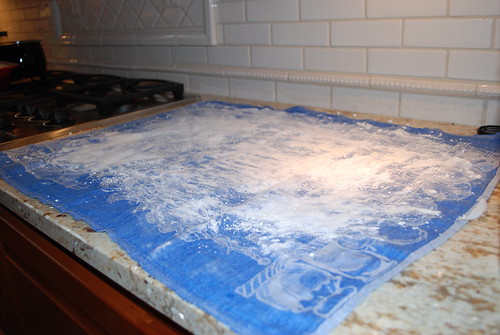
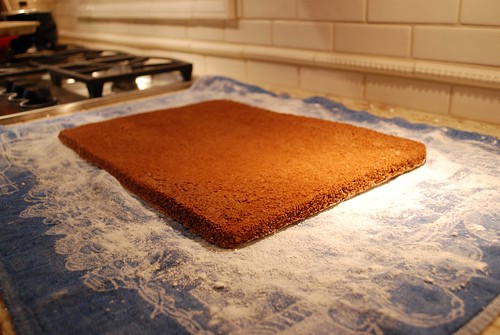
While cake is baking, lay a linen tea towel flat on your counter and sprinkle generously with confectioner's sugar.


When cake comes out of the oven, turn it out onto the prepared towel and remove wax paper.


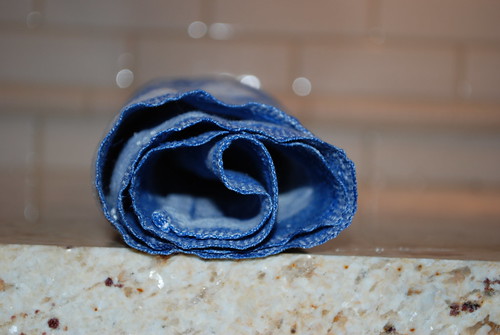
Starting at one of the short ends, roll the cake up in the towel. Do this gently, but remember that the eggs in the cake make it spongy and pliable, so it's really not as hard to do this as you might anticipate. Allow cake to cool completely.


Meanwhile, beat 2 cups whipping cream until stiff but spreadable. Gradually add 2 tablespoons confectioner's sugar, if desired. (My family is a non-sweet whipped cream family, but I know that some people prefer to have it sweetened.)

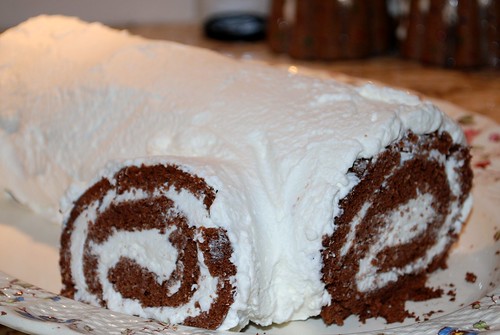
Unroll the cooled cake. Spread half of the whipped cream on the cake; then gently roll the cake back up in the same direction as before. If you'd like, you can simply sprinkle the cake with some powdered sugar and serve as it is. If you'd like to decorate the log more, then continue!

Slice a 1" piece off of one end and set aside. Transfer log to serving plate. Prop the removed slice against the side of the roll, like a branch. Cover the "bark" of the log with the rest of the whipped cream.


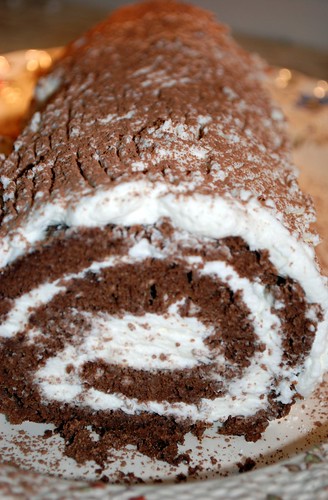
Run the tines of a fork across the whipped cream to create a random pattern. Then sift a small amount of cocoa powder on the "bark" to create a wood-like effect.


Tuesday, December 23, 2008

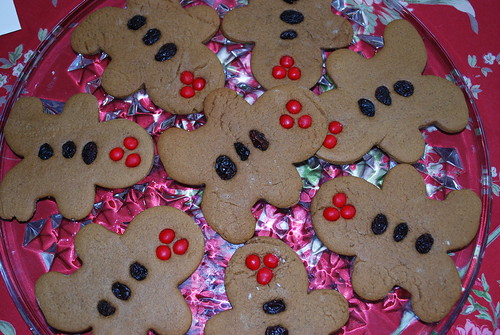
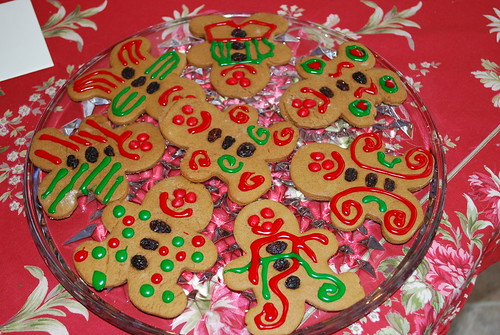
Betty Crocker's Gingerbread Boys

Since I had already made my usual Gingerbread Men recipe earlier this season, I decided that I would branch out and try a new one for my second round of cookies this year.

This post also brings up a fun story about my Betty Crocker cookbook.

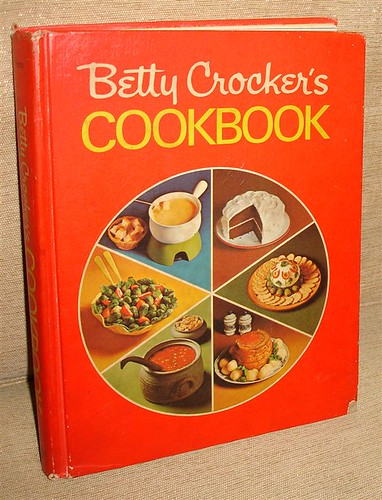
When I was growing up, mom had her 1970s bright-orange edition of the Betty Crocker cookbook, and that was practically all we would ever use when it came to baking. In fact, my favorite chocolate cake recipe comes from this book.

One of the first times I went over to my hubby's house, I saw the exact same bright orange cookbook on his bookshelf! It was then, at that very moment, that I knew he was the one. . .

So back to the cookies! I thought this was an interesting recipe because it uses shortening instead of butter, and it uses no eggs. I tweaked the spices to my tastes and here is what I came up with!

Gingerbread Cookies

Adapted from Betty Crocker's Cookbook (1976)

1/2 cup shortening (ex. Crisco)
1/2 cup sugar
1/2 cup dark molasses
1/4 cup water
2 1/2 cups all-purpose flour
3/4 teaspoon salt
1/2 teaspoon baking soda
2 teaspoons ginger
1/4 teaspoon nutmeg
1/2 teaspoon cinnamon

Cream butter and sugar. Blend in molasses, water, flour, salt, baking soda, ginger, nutmeg and allspice. Cover; chill 2 to 3 hours.

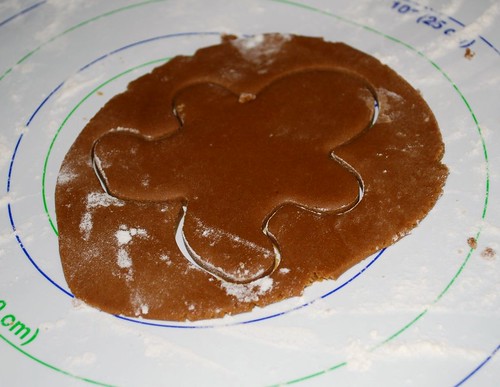
Heat oven to 375F. Roll dough 1/4 inch thick on lightly floured surface. Cut with cookie cutter; place on ungreased baking sheet.


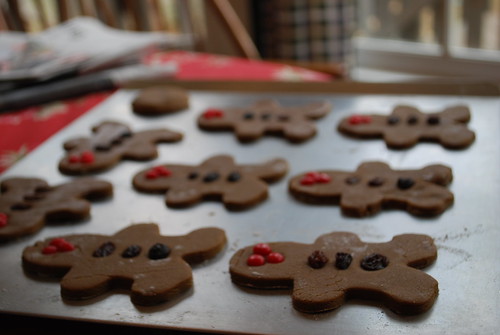
Decorate with raisins, red hots, or other candies (make sure you pick candies that won't melt!).
Bake 8 to 10 minutes. Immediately remove from baking sheet. Cool on racks.

Decorate with icing as desired, and enjoy!


Comparison to my regular recipe for gingies:
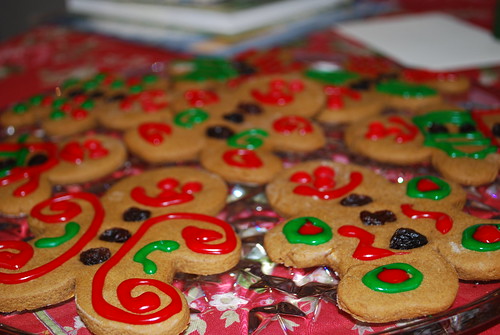
I was amazed at how different these cookies turned out than my usual recipe. I served these at a Christmas caroling party over the weekend, and people could not stop eating these. They are slightly crispier and chewier than my other recipe, which is usually more cake-like and fluffy. These tasted like the freshest ginger snaps you've ever had. I'm pretty much sold on them as my new yearly recipe! I wish I had a picture to show, but we sort of decorated these AT the party, and they were eaten up too fast for me to have a photo session. We are making another batch for Christmas Eve, so hopefully I'll snap a few photos then!

Poulet Avec La Vache Qui Rit


I grew up eating Laughing Cow Cheese on crackers, but never actually cooked with it until I went to France as a foreign exchange student in high school.

Our French exchange student, Elodie, came back to visit us in Georgia as well, and she was so excited to find out that we have La Vache Qui Rit (The Cow Who Laughs) in the States, too! She made us this sinfully creamy seafood pie that involved Laughing Cow Cheese and creme fraiche. One day, I'll have to look up the recipe she left us and share it with you all.

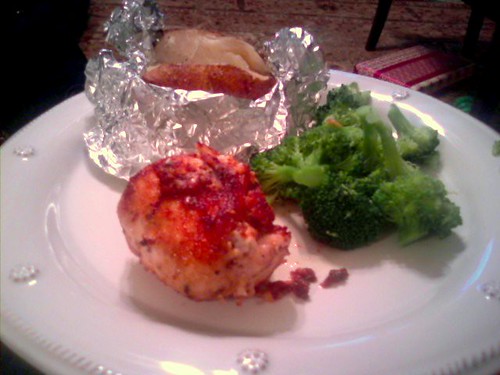
I was so excited when I found this recipe for Laughing Cow Chicken because using the Laughing Cow Cheese, even in a simple dish, reminds me so much of Elodie!

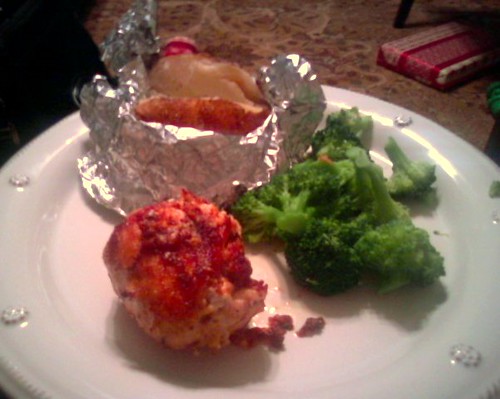
PS: Sorry for the poor photo quality - my camera is still MIA, so these were taken with my cell phone!


Laughing Cow Chicken
Inspired by Elizabeth's Cooking Adventures and several other recipes I found online

1/4 cup extra virgin olive oil
2 skinless boneless chicken breasts, cleaned and pounded thin
2 sections of Laughing Cow Cheese (regular, light, or herbed)
2 teaspoons Italian seasoning
1/2 cup of your favorite bread crumbs
Salt and pepper to taste

Preheat oven to 375 degrees. Heat olive oil in a large oven-safe skillet or pot over medium heat and season with salt and pepper.


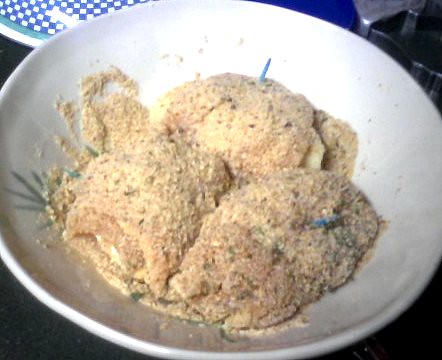
Spread one section of laughing cow cheese on each chicken breast. Sprinkle with Italian seasoning and salt and pepper. Roll up and secure with toothpicks. Mix bread crumbs and salt and pepper in a shallow dish. Spray or brush each chicken roll with some olive oil or cooking spray. Dredge the chicken in the breadcrumb mixture.


Place the chicken in the hot olive oil. Cook over medium heat for about 2 minutes: chicken should sizzle and brown on the bottom. Turn and brown on the other side for about 2 minutes. Cover and bake in the oven for about 25-30 more minutes until chicken is cooked through (exact time will depend on the size of your chicken pieces). Remove toothpicks and serve with your favorite veggies!


This dish turned out so delicious, and it was so simple to make! Hubby loved this dinner.

The only thing I would change for next time is that I do NOT recommend using colored toothpicks - they were the only ones we had on hand, but they left a little colored mark when we took them out! It reminded me of Bridget Jones' blue soup . . . but not quite as bad. :-)

Thursday, December 18, 2008

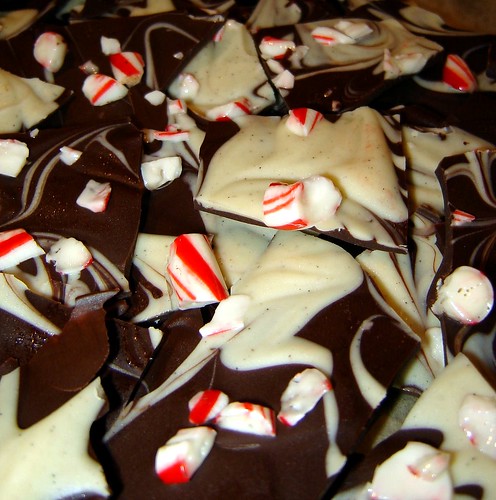
Marvelous Marbled Peppermint Bark


What could be more festive and full of holiday cheer than
beautifully swirled peppermint bark!?!


When I was in 6th grade, I did my science fair project on the science behind the art of paper marbling. It involved chaos theory, density of liquids, and a lot of other super nerdy stuff. It was so much fun! There are lots of different techniques and tools that you can use to create different patterns. Here is what paper marbling looks like:


Well, I had a flashback to that science fair project last night when my mom and I made some Marvelous Marbled Peppermint Bark. This was so much fun to make, and it turned out looking so beautiful. Most importantly, it is a delicious little holiday treat. And it was super easy and quick - the directions are just a little long here because I got so picture-happy!


Marvelous Marbled Peppermint Bark

10.5 ounces high-quality dark chocolate, finely chopped or grated
(I used Lindt Excellence 70% cocoa intense dark chocolate)
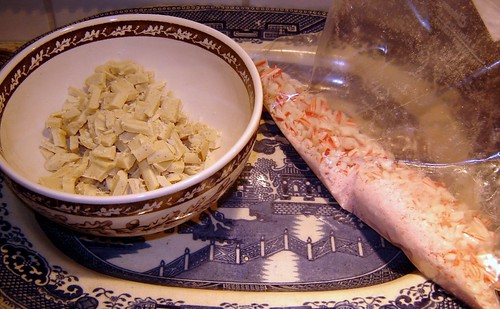
3 ounces high-quality white chocolate , finely chopped or grated
(I used Ghirardelli Sublime White Vanilla Dream squares)
4 candy canes or equivalent peppermint candies

Line a baking sheet with wax paper and set aside. Place the candy canes in a plastic bag, seal, and whack with something really hard, like a meat pounder, until they are crushed into small pieces.

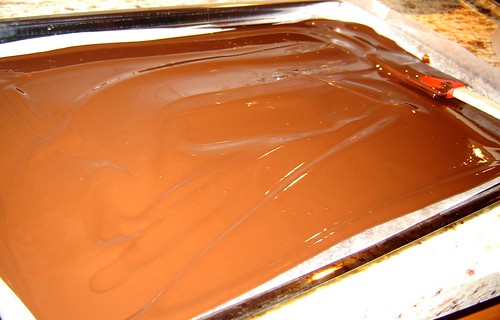
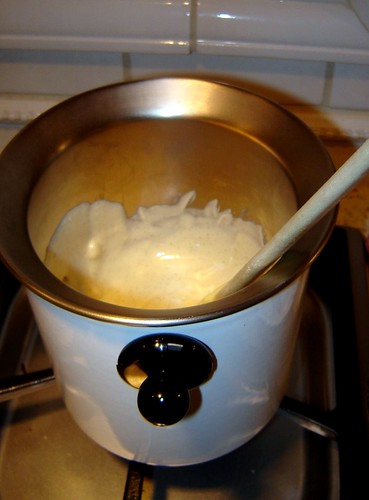
Heat dark chocolate in a double boiler. I have a fancy one that my mom gave me (it even makes a little train whistle sound!), but you can also use a pot of simmering water with a glass bowl that fits over the top. Just make sure that the water doesn't touch the bottom of the bowl. When chocolate is completely melted, spread it evenly over the prepared paper-lined pan.


In a clean and dry double boiler, melt the white chocolate until smooth.


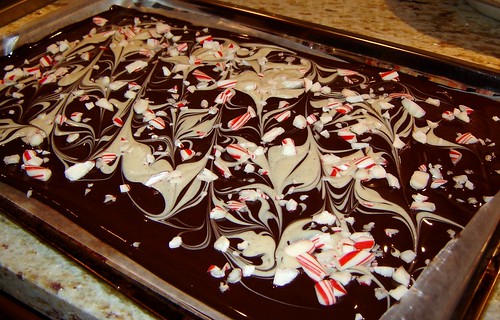
Spoon the melted white chocolate over the dark chocolate. Then, drag the tip of a toothpick through the chocolate, snaking back and forth from the left side of the pan to the right side of the pan. Next, drag the tip of a toothpick, snaking back and forth from the far side of the pan to the near side of the pan. The resulting pattern will look pretty and marbled! Sprinkle the pieces of candy cane over the top, and push them lightly into the chocolate.


You can also swirl the chocolates in a random pattern, as I did with this batch. Either way ends up looking beautiful.


Place the tray of candy flat in the freezer for about 15-20 minutes, until very firm. Break into randomly-shaped pieces with your hands and enjoy! Keeps well in an air-tight container in the fridge for several days - if you can wait to eat it for that long!


I just love how it looks packed up in this Santa tin! This is the batch I made for my mom.


I also packaged a second batch for my co-workers as a little Christmas treat on our last day together before the holidays. They turned out pretty cute!


Sorry, I had waaayyy too much fun with the photos on this one!!!
 

Made by Lena