


When I was in 6th grade, I did my science fair project on the science behind the art of paper marbling. It involved chaos theory, density of liquids, and a lot of other super nerdy stuff. It was so much fun! There are lots of different techniques and tools that you can use to create different patterns. Here is what paper marbling looks like:

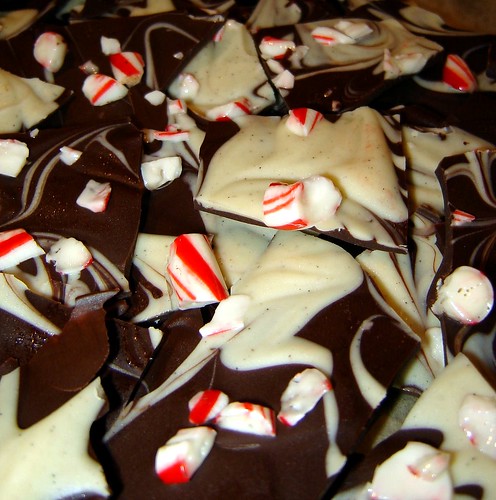
Well, I had a flashback to that science fair project last night when my mom and I made some Marvelous Marbled Peppermint Bark. This was so much fun to make, and it turned out looking so beautiful. Most importantly, it is a delicious little holiday treat. And it was super easy and quick - the directions are just a little long here because I got so picture-happy!

Marvelous Marbled Peppermint Bark
10.5 ounces high-quality dark chocolate, finely chopped or grated
(I used Lindt Excellence 70% cocoa intense dark chocolate)
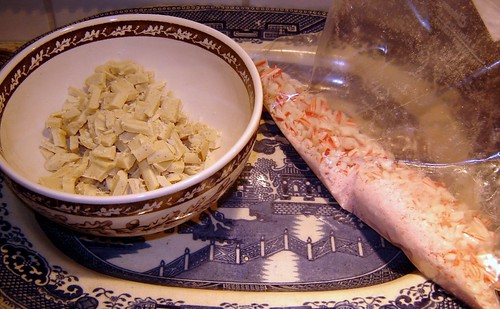
3 ounces high-quality white chocolate , finely chopped or grated
(I used Ghirardelli Sublime White Vanilla Dream squares)
4 candy canes or equivalent peppermint candies
Line a baking sheet with wax paper and set aside. Place the candy canes in a plastic bag, seal, and whack with something really hard, like a meat pounder, until they are crushed into small pieces.
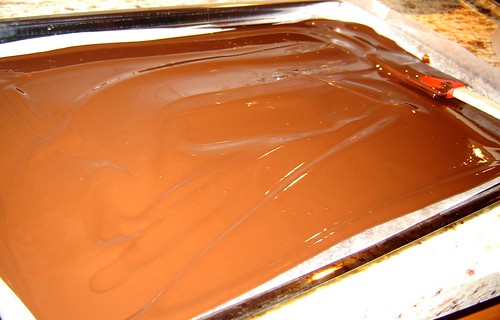
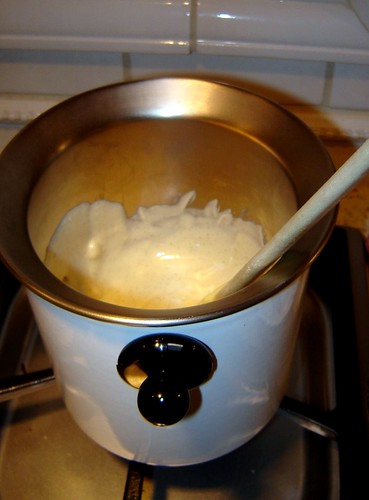
Heat dark chocolate in a double boiler. I have a fancy one that my mom gave me (it even makes a little train whistle sound!), but you can also use a pot of simmering water with a glass bowl that fits over the top. Just make sure that the water doesn't touch the bottom of the bowl. When chocolate is completely melted, spread it evenly over the prepared paper-lined pan.

In a clean and dry double boiler, melt the white chocolate until smooth.
Spoon the melted white chocolate over the dark chocolate. Then, drag the tip of a toothpick through the chocolate, snaking back and forth from the left side of the pan to the right side of the pan. Next, drag the tip of a toothpick, snaking back and forth from the far side of the pan to the near side of the pan. The resulting pattern will look pretty and marbled! Sprinkle the pieces of candy cane over the top, and push them lightly into the chocolate.
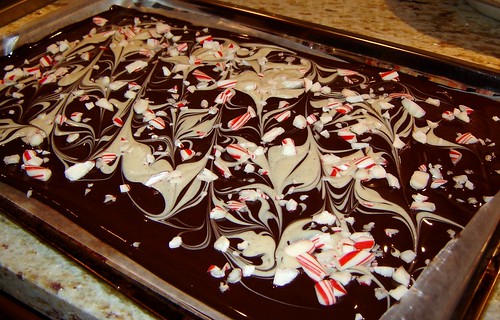
You can also swirl the chocolates in a random pattern, as I did with this batch. Either way ends up looking beautiful.

Place the tray of candy flat in the freezer for about 15-20 minutes, until very firm. Break into randomly-shaped pieces with your hands and enjoy! Keeps well in an air-tight container in the fridge for several days - if you can wait to eat it for that long!

I also packaged a second batch for my co-workers as a little Christmas treat on our last day together before the holidays. They turned out pretty cute!


4 comments:
How beautiful!
That looks delicious and relatively easy. I love your packaging!
so pretty!!
i make mine with peppermint extract in the white chocolate, and i stir most of the candy canes into the chocolate...so yummy =)
I'm loving the way these turned out. I might have to give this a shot. BTW, I love the blog!!
Post a Comment